Creating dynamically coloured models in Unity using Blender
Colour can be used in games to convey useful contextual information about objects in the world. For example, if you have storage tanks that can each be used to store one of a variety of different resources, colour can be used to provide a clear visual indication of which resource each tank contains. This post will cover creating a simple model to use as the tank, importing it to unity, then adding configuration to the object to allow the runtime colour to be changed.
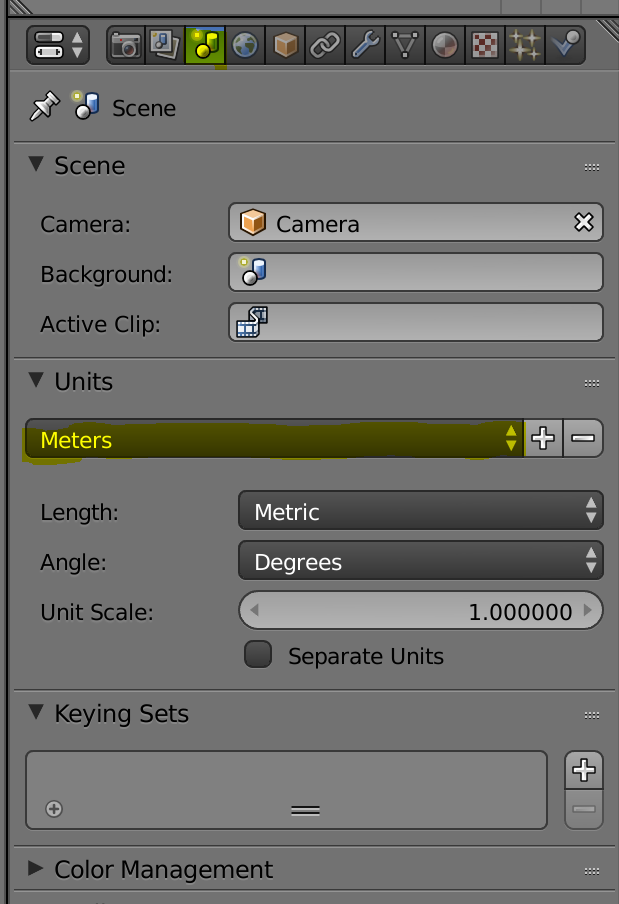
After creating the new blender model, check that “Meters” is set as the unit.
Quick summary of some useful Blender controls
A - Select All
L - Select connected
Shift + Right Click - Add to selection
Alt + Right Click - Select Loop (Edges or faces)
Creating the main tank section (dynamic colour)
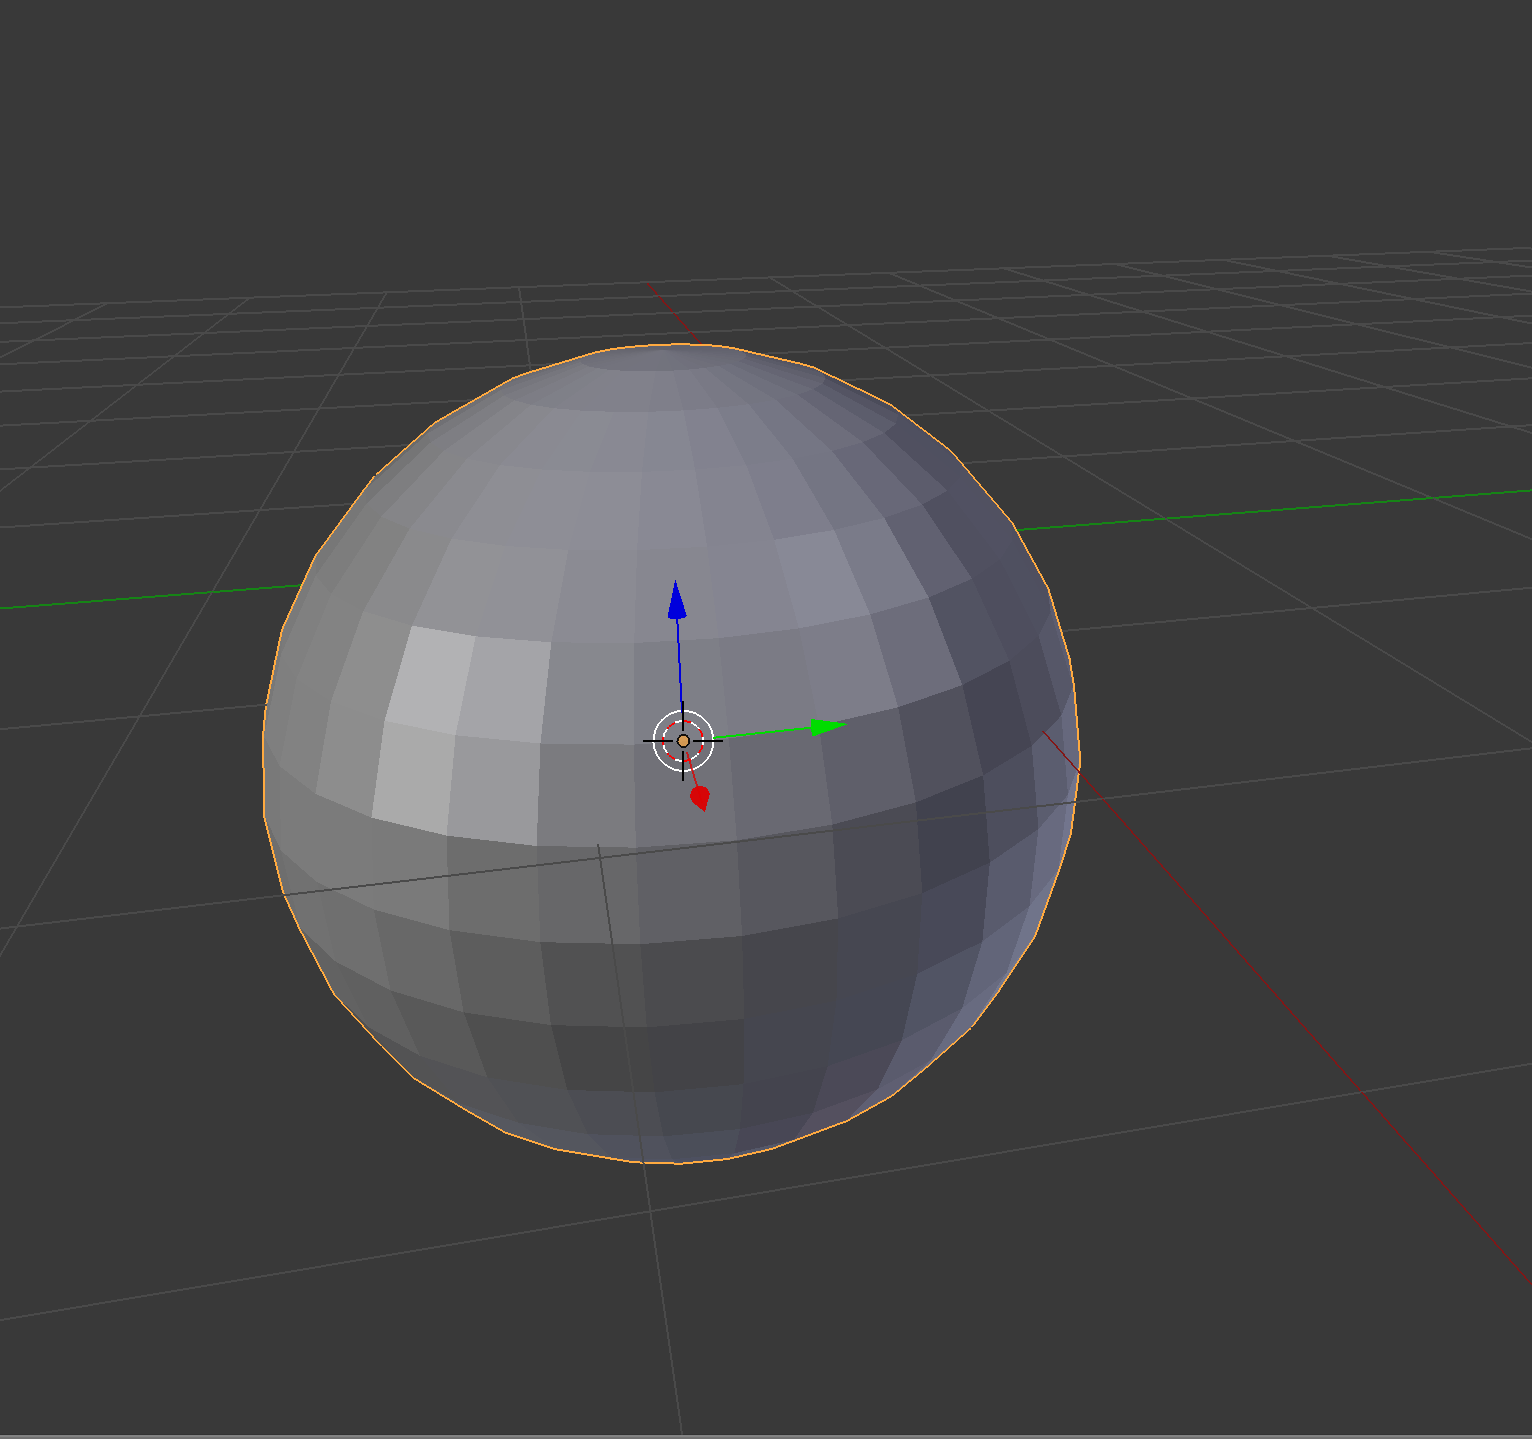
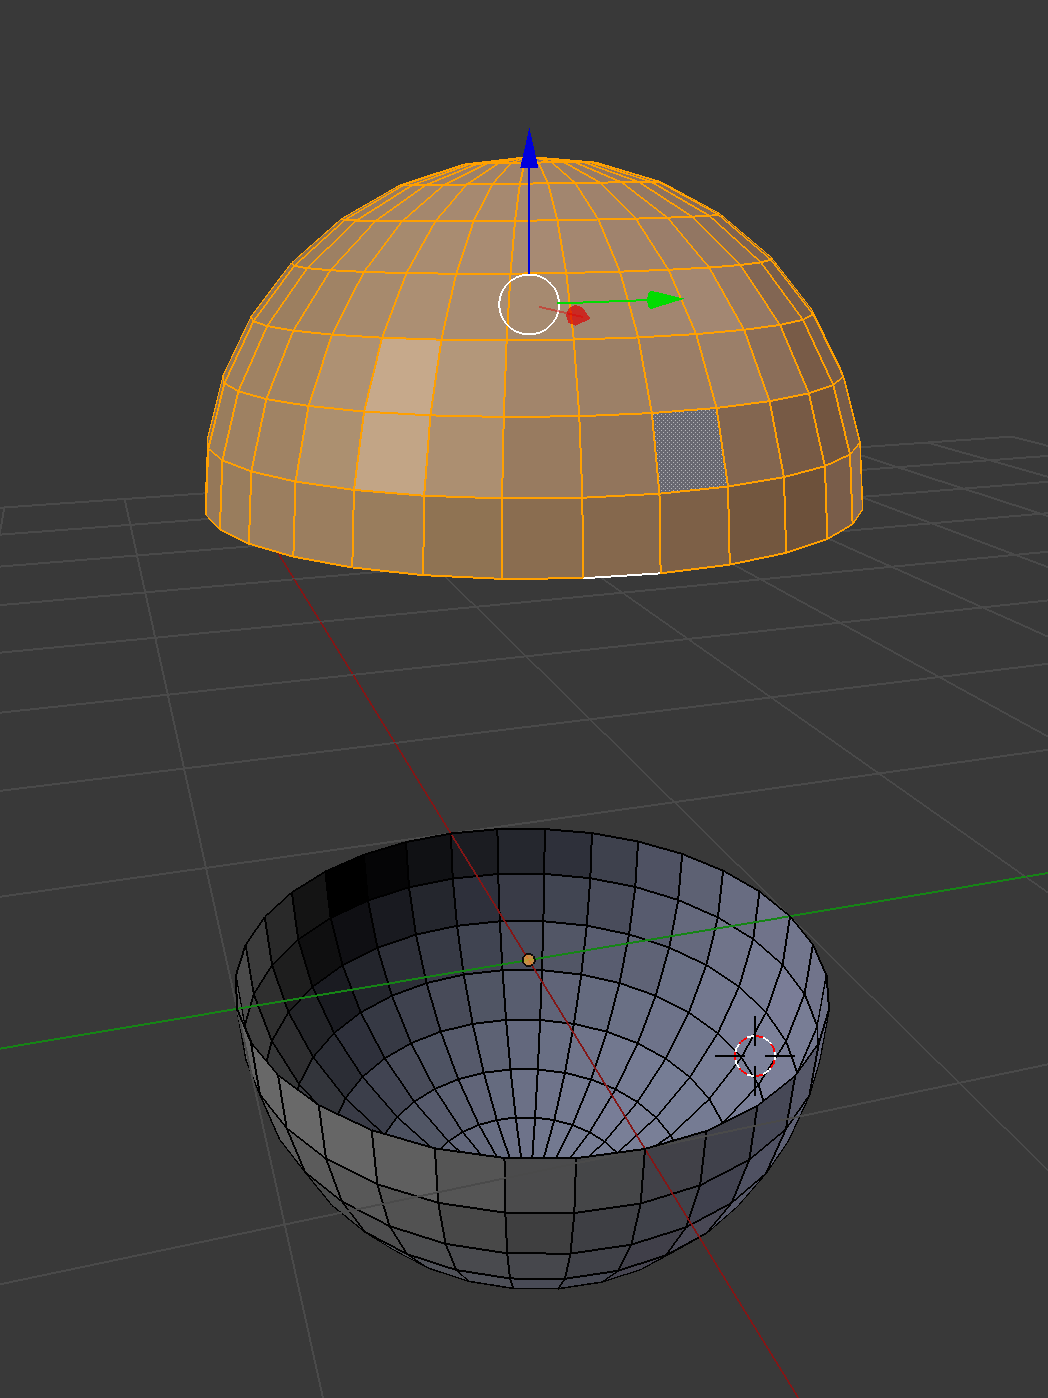
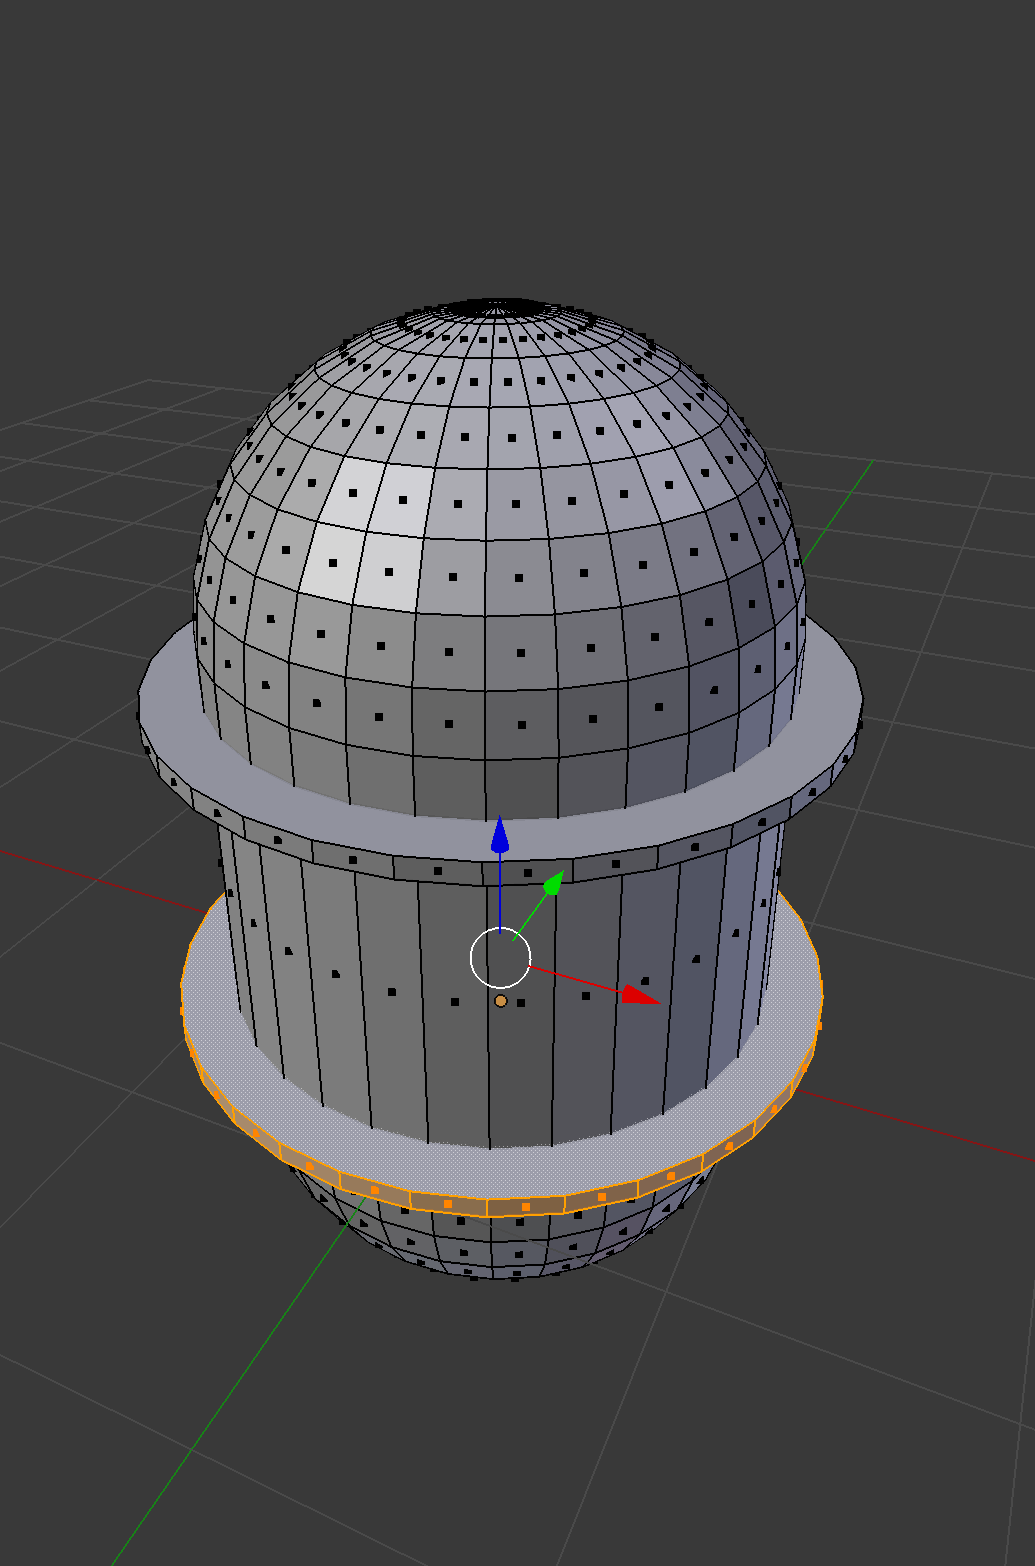
- Create UV Sphere
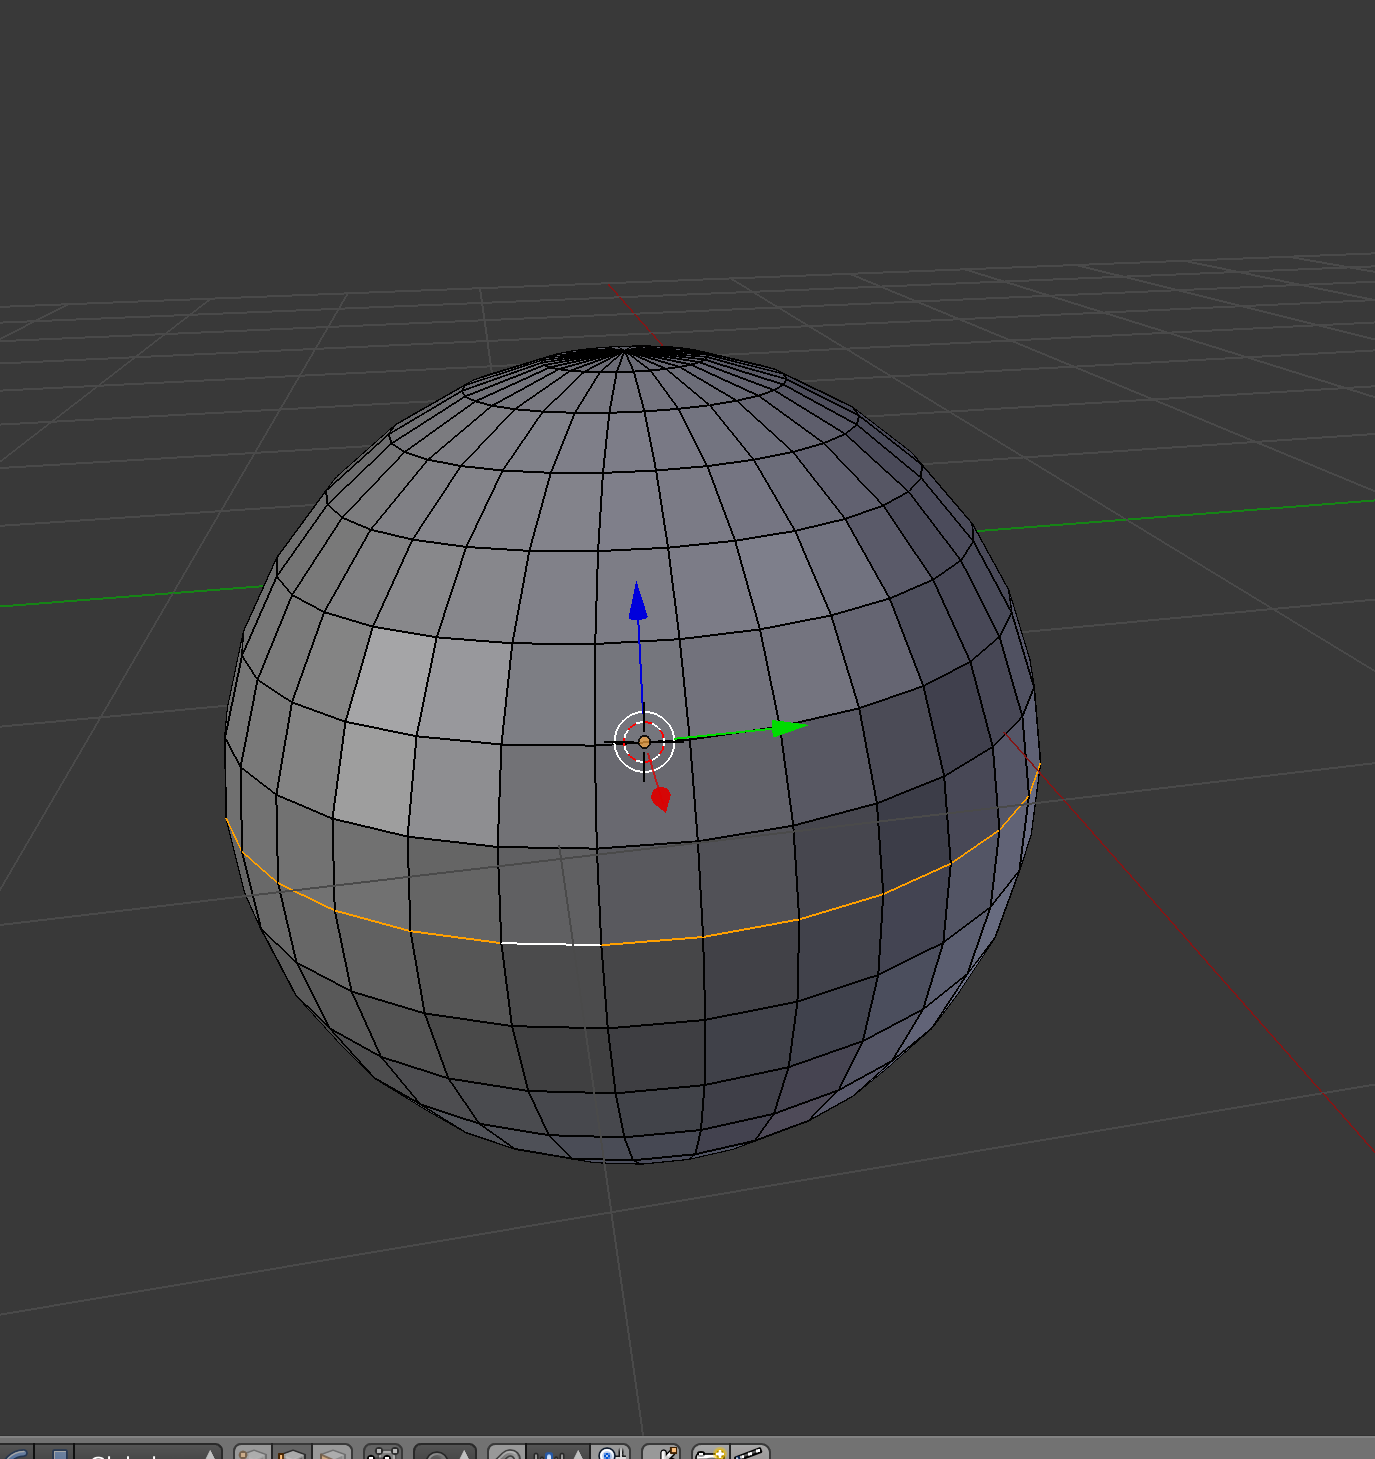
- Switch to edit mode (tab)
- Switch to edge select, and select the perimiter edges (alt + right click)
- Split into seperate hemispheres by pressing space, and choosing “Edge Split”
- Select the top hemispwhere by clicking on part of it, then pressing “L”
- Translate the selected hemisphere directly upwards
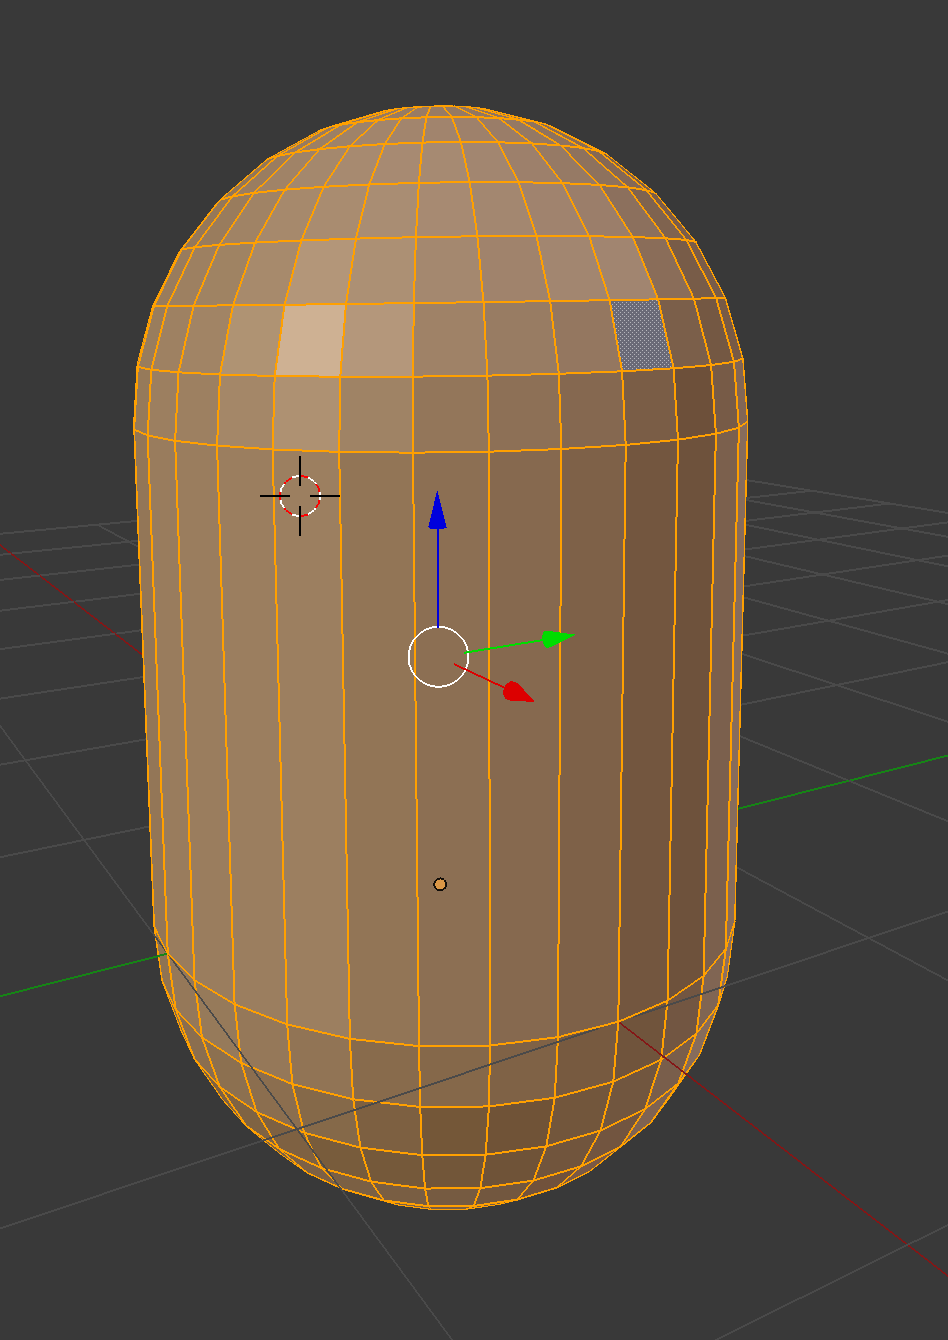
- Select the edge loops from both hemispheres using alt + right click on the first edge, then shift + alt + right click on the second
- Use “Bridge Edge Loops” to fill the gap between the two hemispheres
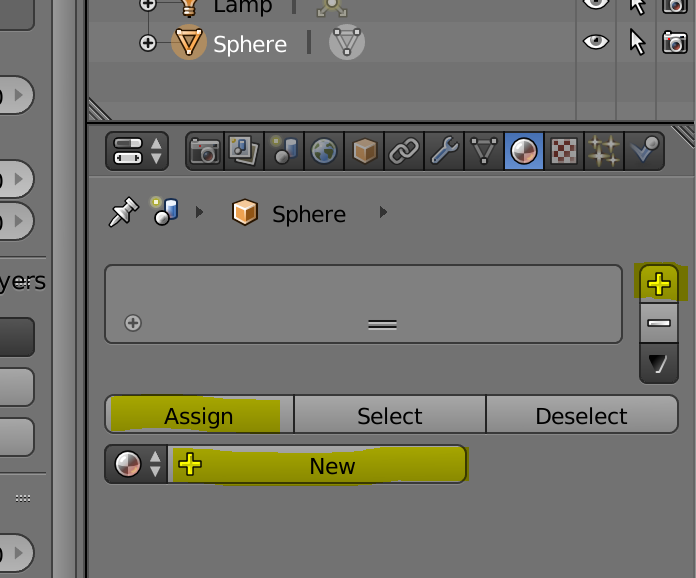
- Select the whole model by pressing “A”
- Select the texture tab on the top right, then create a new texture by clicking the “+”, then “Create”
- Rename the material “Dynamic”. This will be the material getting replaced, so its defined colour will only be seen in the editor.
Creating the outer frame (Fixed colour)
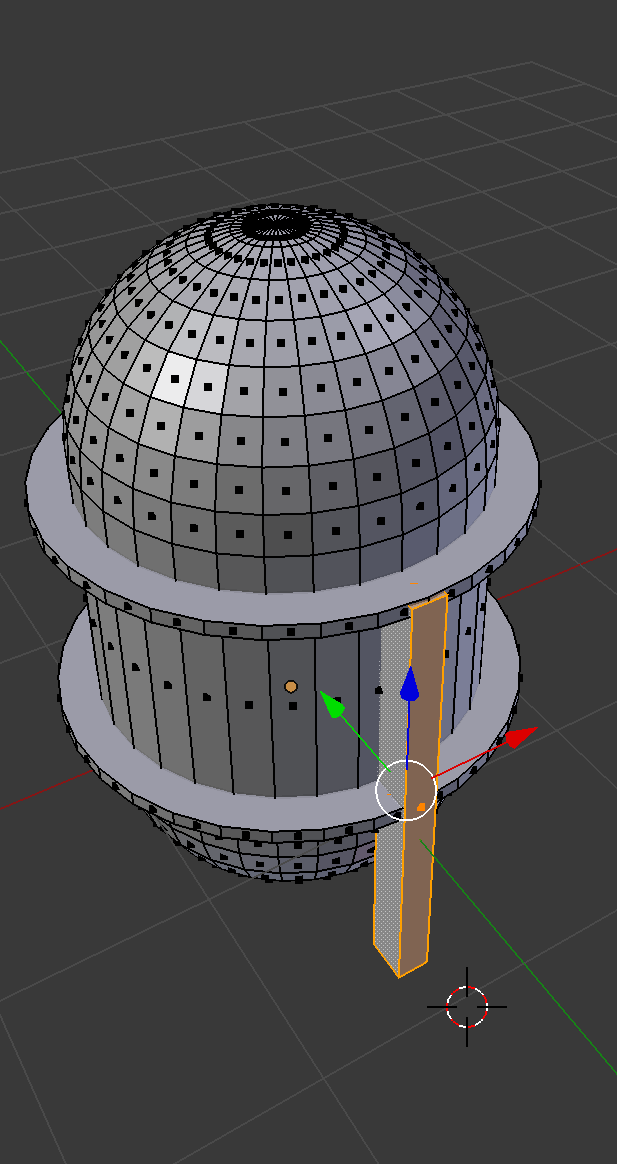
- Create a cylinder, then resize it to be a narrow band that has a diamater slighly larger than the main tank. (Pressing “N” brings up a transform menu that is useful for this)
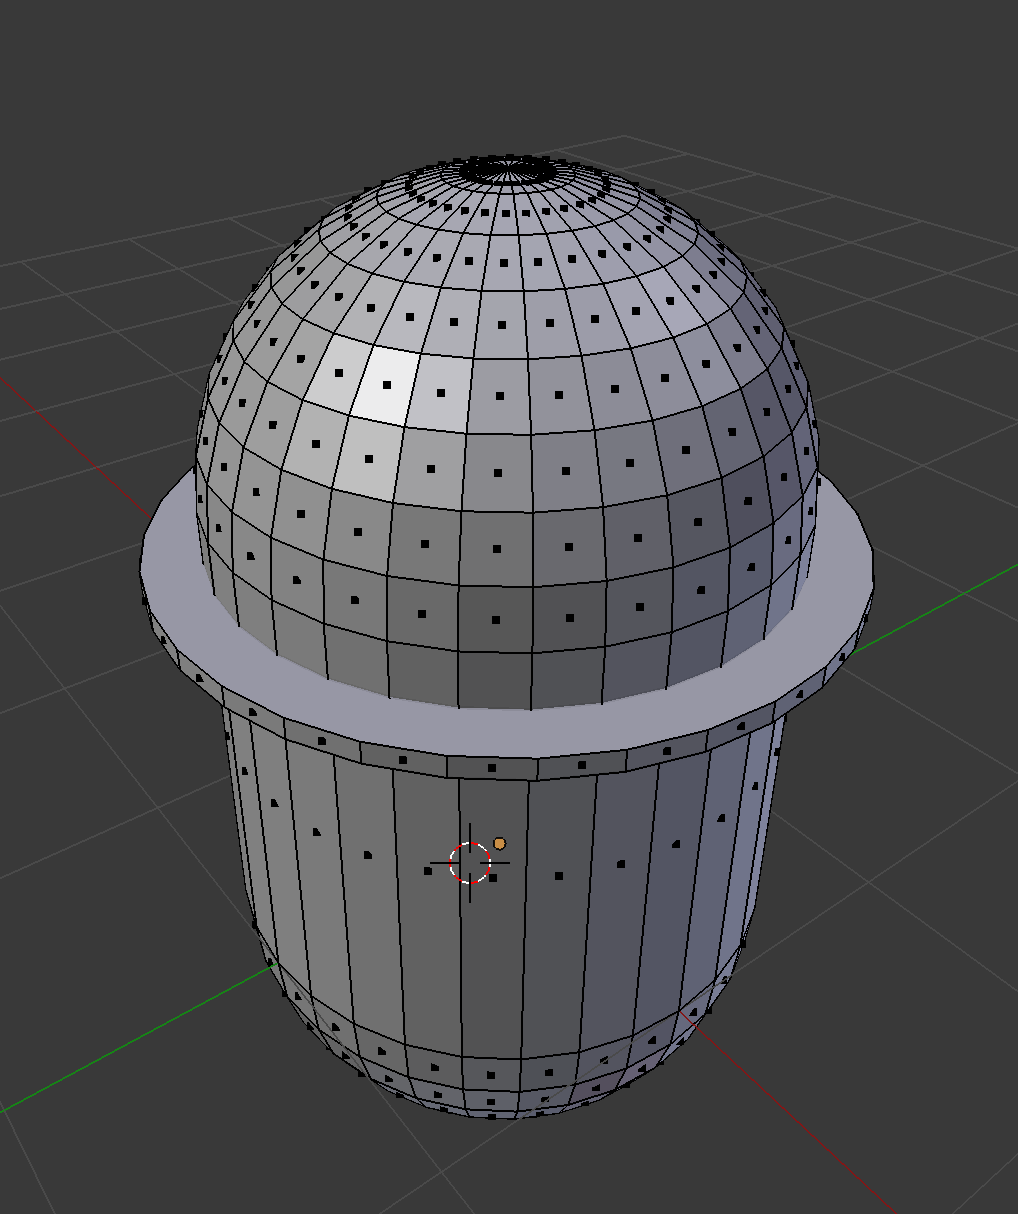
- Select the whole cylinder (Click one face, then press “L”)
- Press “Space” and choose “Duplicate”. The duplicate will be created in a the same location, so you will have to translate it to the new position.
- Add a cube, then resize to make a post that reaches from the top cylinder to the ground
- Duplicate the post three times, and move the around the tank
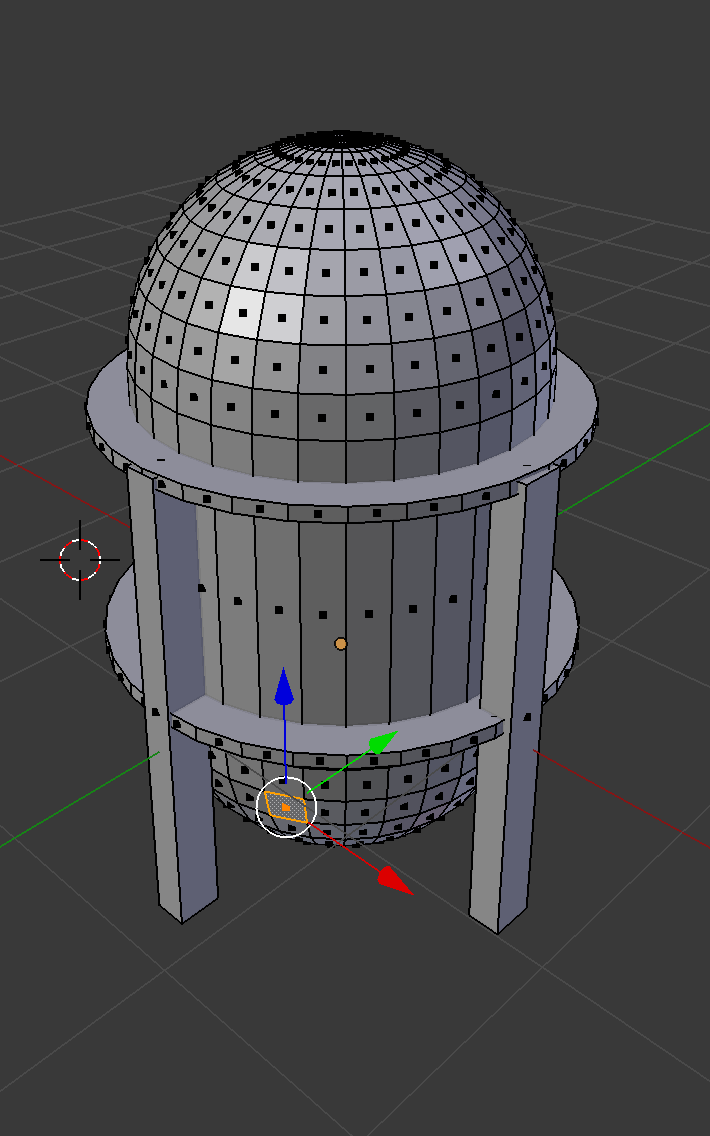
- Select the frame sections, then create a new Material name “Frame”. I suggest setting this material to a grey to make it look like metal.
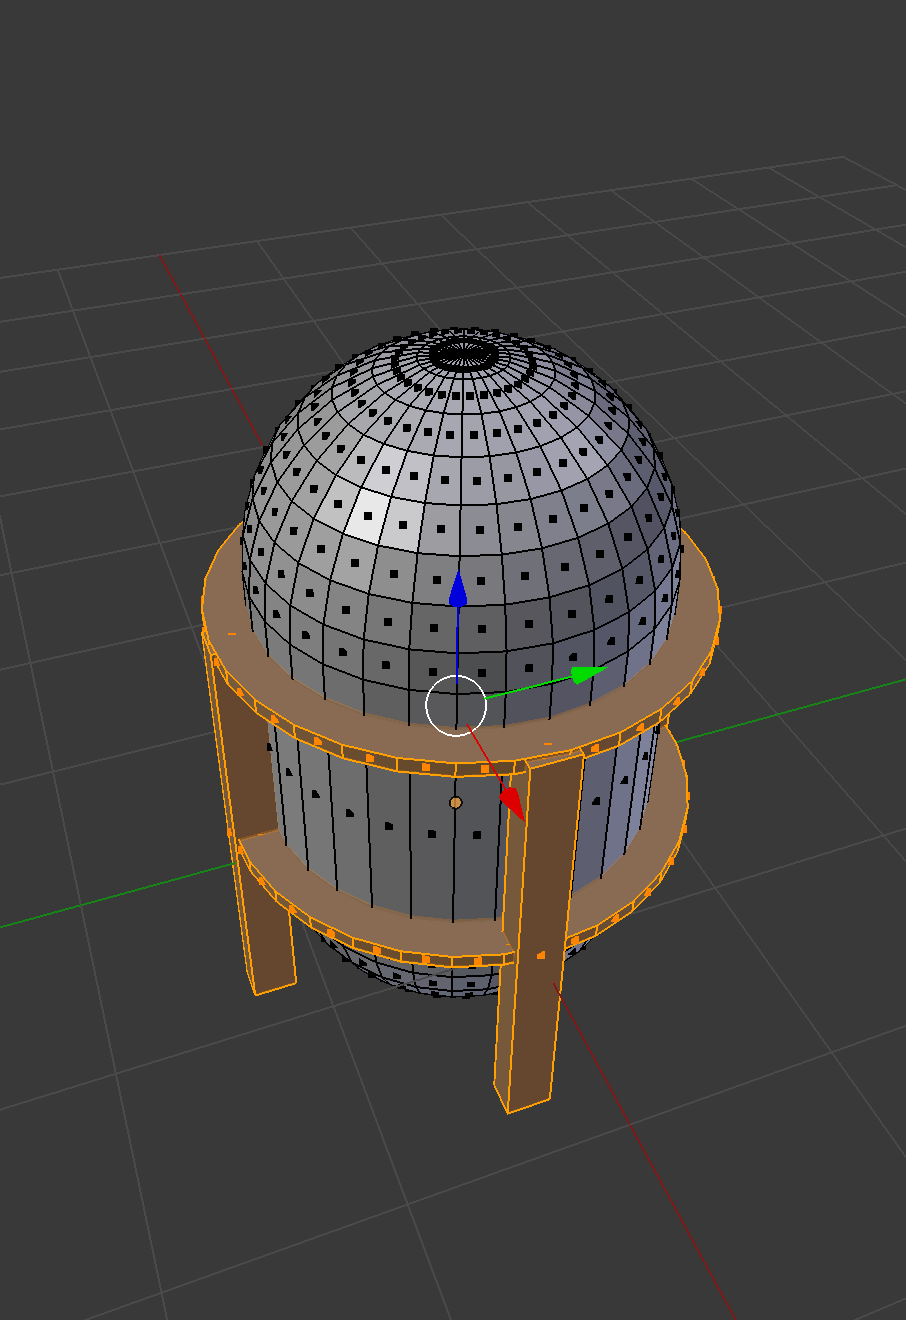
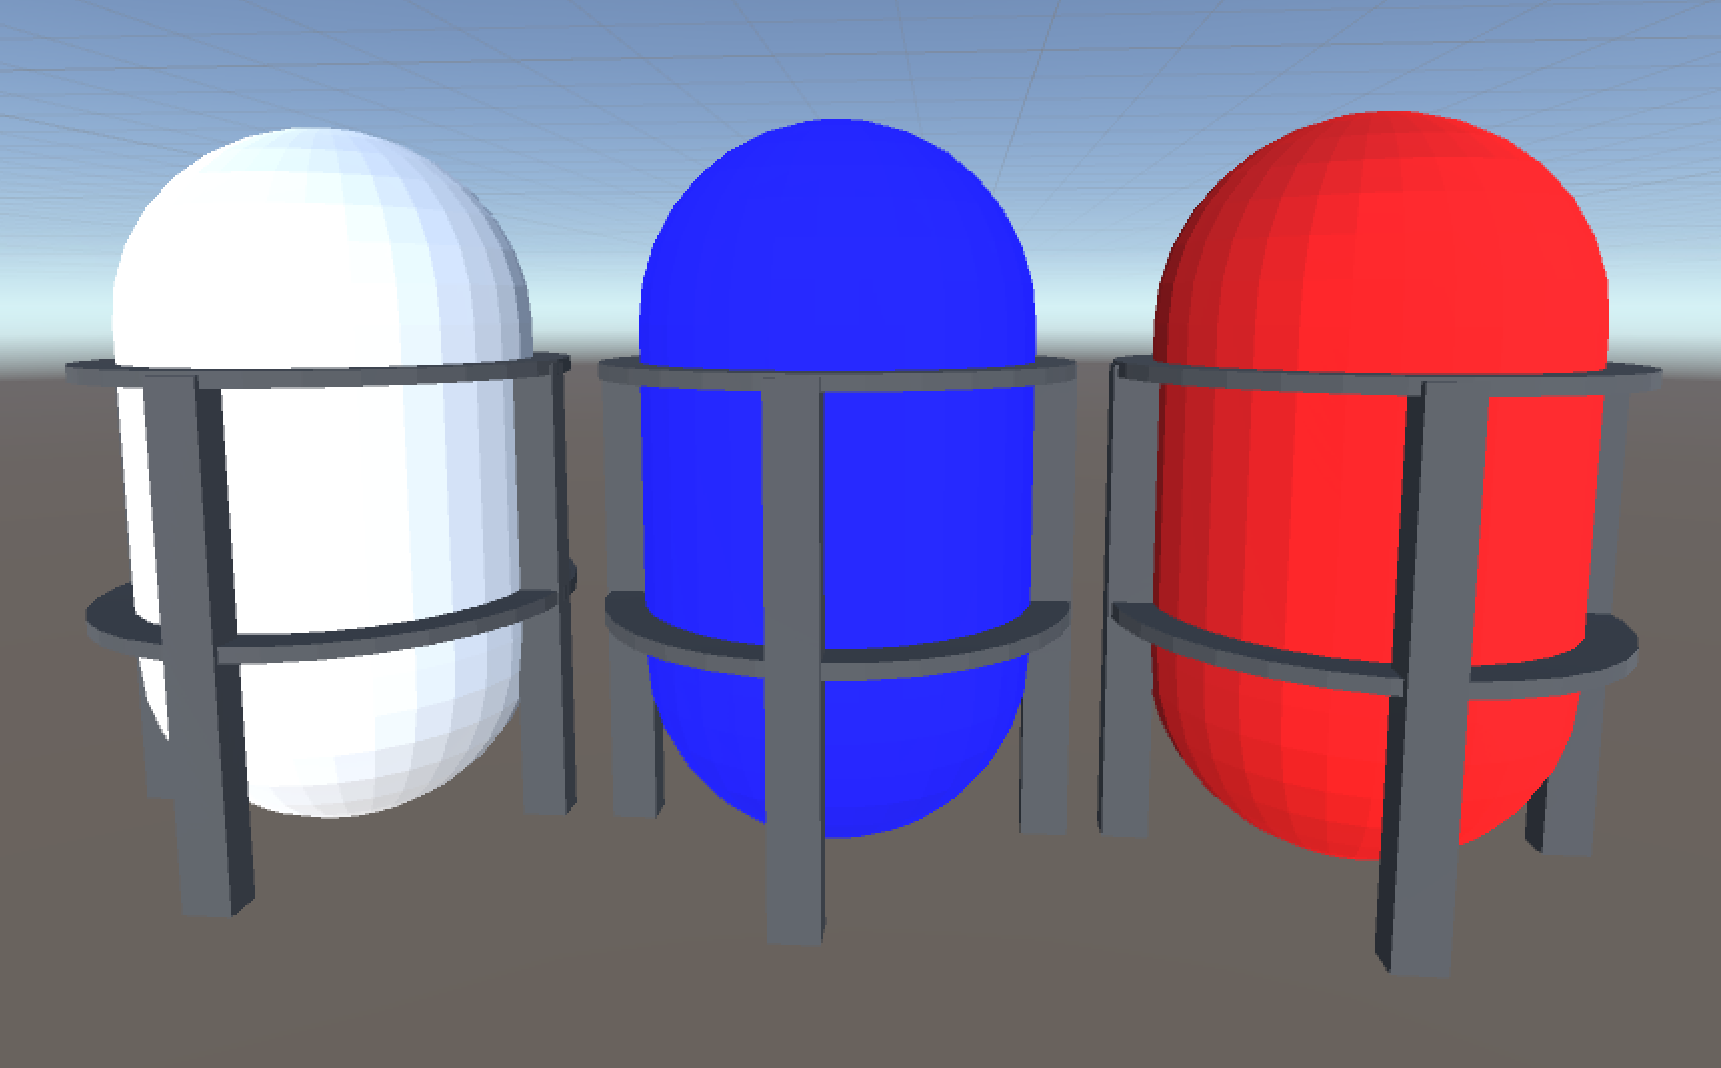
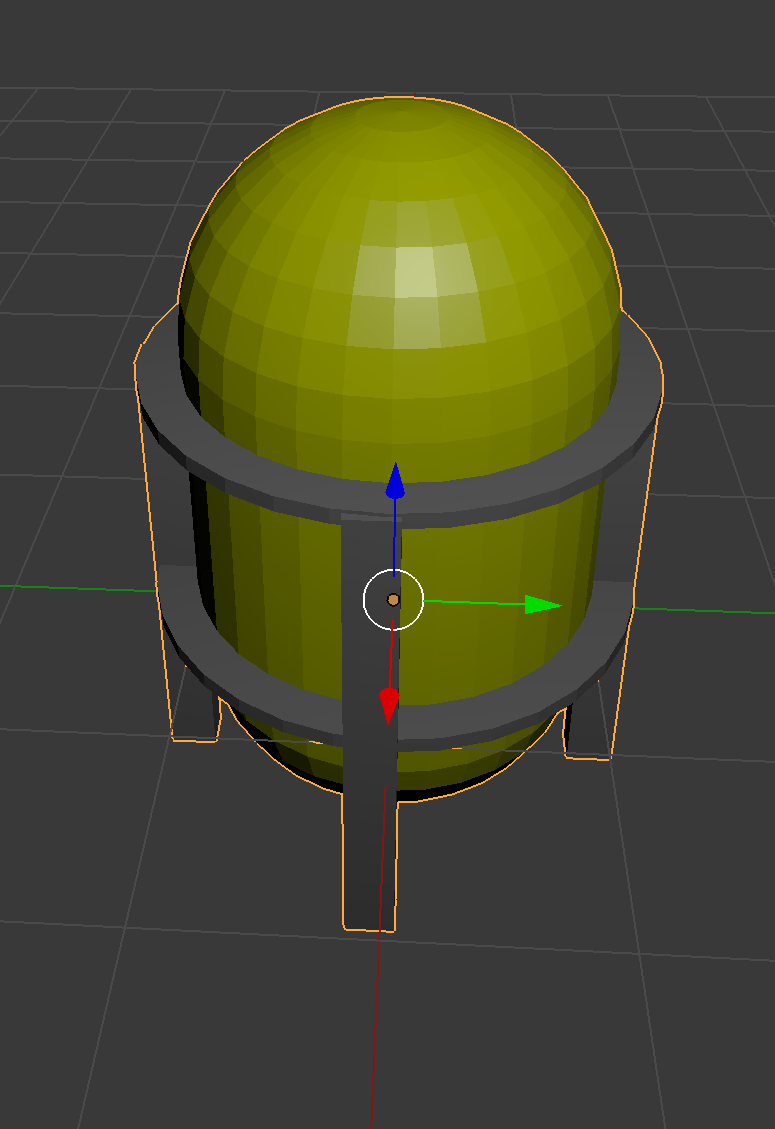
Final Model. A copy of the model can be downloaded from here
Setting dynamic colour in Unity
- Create a new Unity project
- Copy the Blender model file into the Assets folder. Unity is able to import models straight from a blender file.
- Create a new scene, then place the tank model into the scene
- Create a new script called “DynamicTank”
- Open the script using the editor of you choice, and add the following:
public enum TankResourceType
{
    Water,
    Oxygen,
    Hydrogen
}

public class DynamicTank : MonoBehaviour {
    public TankResourceType Resource;


    // Use this for initialization
    void Start()
    {
        var renderer = GetComponent<Renderer>();
        // Get the material to dynamically colour
        var material = renderer.sharedMaterials.First(m => m.name == "Dynamic");
        // Create new material instance, so that setting the material colour doesn't affect everything else using the material
        renderer.material = new Material(material);

        // An alternative option which will return a new instance of the first material on the model. This may be a simpler convention.
        //material = renderer.material;

        // Set the material colour based on the resource type
        switch (Resource)
        {
            case TankResourceType.Water:
                material.color = Color.blue;
                break;
            case TankResourceType.Oxygen:
                material.color = Color.red;
                break;
            case TankResourceType.Hydrogen:
                material.color = Color.white;
                break;
        }
    }
}
In editor
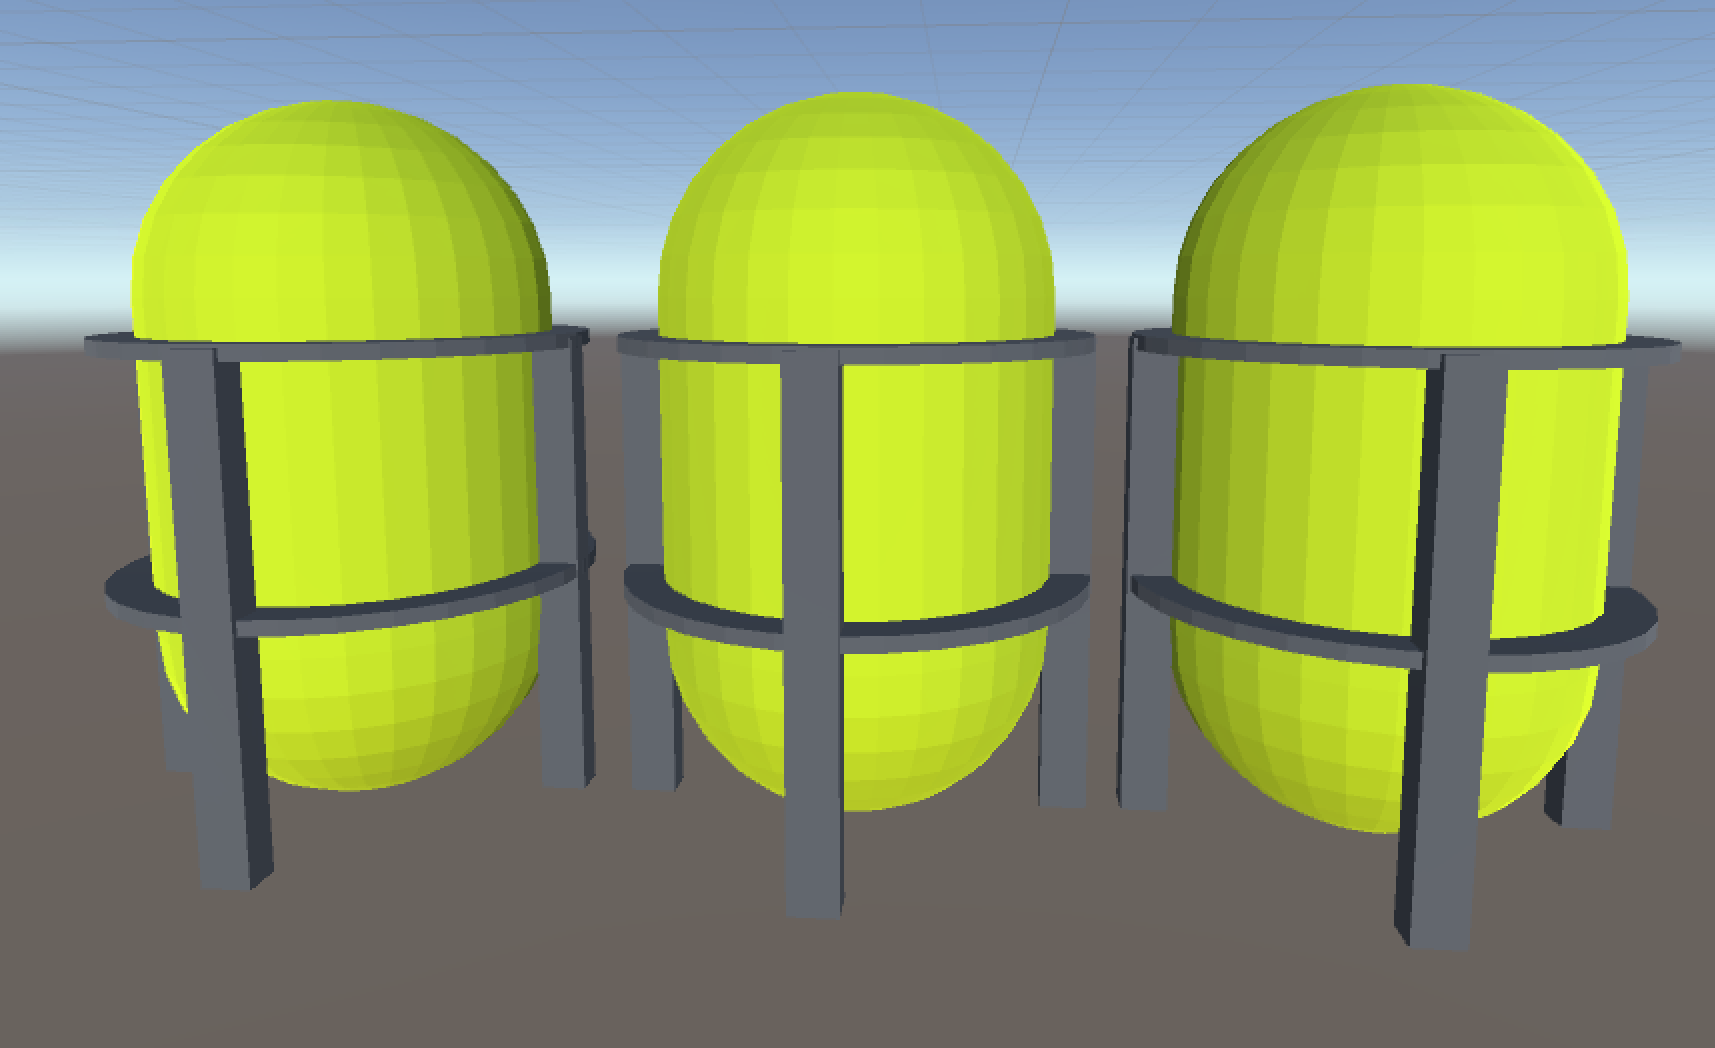
In Play mode